Compiling and Debugging a Kernel - Xv6 for the RISC-V Architecture
After years of working in high-level development, I decided it was time to delve deeper. I decided to learn more about how Operating Systems are built. This is my inaugural article on the topic, and it covers how to compile the necessary tools and run the XV6 kernel for a RISC-V machine/emulator.
What we are going to do:
Download the source code for riscv-gnu-toolchain, QEMU, the Xv6 kernel. We will compile them one after the other and then run the kernel in the emulator. Additionally, we will learn how to debug the kernel with GDB.
What even is Xv6 RISC-V?
If you are reading this, you are probably interested by Linux, like me. Long story short, Linux was inspired by the Unix operating system, and it was built to be a free and open-source alternative to it. The Xv6 kernel is a simplified re-implementation of the Unix V6 kernel, and it is used as a teaching tool in MIT’s Operating Systems Engineering class.
That covers the Xv6 part, but what about RISC-V?
RISC-V is an open-source architecture for creating processors, and it’s gaining a lot of traction in the industry. It is quite new, it’s significantly simpler than the x86 and ARM that are commonly found in computers and mobile devices these days. This makes it an excellent choice for learning to build a kernel, as it’s easier to understand.
Resources
One of the main resources I am using is this MIT Course 6.S081 Operating System Engineering. It’s free, and all its content is fully available on the Internet. The Operating Systems course I took in college was theory-focused, not practically inclined. This course is the opposite, and it’s fascinating to see how things get implemented in a real kernel. This is what I selected as my starting point.
Another very interesting resource is this YouTube playlist Source Dive by the Low Byte Productions Channel. It is quite entertaining, and it goes through the source code of the Xv6 kernel, explaining how it works and some of its concepts.
Setup
You will need a machine with a modern C compiler, and a few other tools, like QEMU and GDB. For this article, I chose to build everything from source. This can take some time depending on the machine in use. You can also use the pre-compiled binaries provided by MIT. A guide is available on the Tools page for the course.
Installing the toolchain
These are the tools needed to compile the kernel and user programs for the RISC-V architecture. Clone the repository with
git clone --recurse-submodules [email protected]:riscv-collab/riscv-gnu-toolchain.gitIn my system, I chose to put all the tools under /usr/local/, but you can change it to something else if you want.
Just note that you might need to configure your path to find the commands and libraries needed to compile everything.
./configure --prefix=/usr/local/ --enable-multilib

sudo make -j $(nproc)
$(nproc) will be the number of cores in your machine.
In my case, this is equivalent to make -j 24.
You can give a smaller number if your machine becomes unresponsive while compiling, but it will take longer.
Based on my experience, assigning a larger number than the actual number of cores in your processor will not expedite the process.
This is likely because the CPU will be required to perform a larger amount of context switching from one compiling job to another.
Note that root access to the /usr/local/ folder is necessary to install the toolchain; this is why I ran ‘make’ with ‘sudo’.
QEMU
Since we are running a RISC-V kernel, we need to use a RISC-V emulator. QEMO is a very popular emulator, and it supports the RISC-V architecture. Here is how to build QEMU from source:
git clone --recurse-submodules https://gitlab.com/qemu-project/qemu.git
cd qemu
./configure
make -j $(nproc)
sudo make install
Xv6-RISCV codebase
Clone the repository with
git clone [email protected]:mit-pdos/xv6-riscv.git`Once inside the folder, you can compile the source code by just running just make.
This time, the code is simple enough and we wont need to use the -j flag.
Running this will generate a file called kernel inside the kernel folder.
This is the compiled file that we will run in out QEMU emulator.
We also generated binaries for every user program inside the user folder.
But before we do that, we need to create an image file to use as a disk for our system.
This is done by running the mkfs.
make fs.img
It will and create the default fs.img file.
If you look at the Makefile, you will notice that it adds the README file and all the user programs to the image.
These are the files you will see once you boot into the system.
Now you can run the system with make qemu. This will run the QEMU emulator with the kernel we compiled, and the disk image we created.
You should see the following output:
make qemu
...
xv6 kernel is booting

hart 2 starting
hart 1 starting
init: starting sh
$| ℹ️ Quick Tip: How to close the running QEMU instance |
|---|
Press: Ctrl + a to enter the “QEMU shell”, and then q and Enter |
Running with GDB: Debugging the kernel
Just running the kernel is not very useful to understand what is happening. Luckily, QEMU has a built-in GDB (GNU Debugger) server, so we can connect to it and debug the kernel. We can use it to execute the code step by step, and inspect variables and their values while the kernel is running.
I had not used GDB in a while, so I had to relearn how to use it.
First, the xv6-riscv repository has a .gdbinit file in the root folder.
It provides some basic configuration that allows GDB to work on our code base.
But we need to allow GDB to use it explicitly.
I had to create a file $HOME/.config/gdb/gdbinit file with the following content:
set auto-load safe-path <path to you local xv6-riscv codebase>If you don’t create it, you will see a warning telling you to do so.
To run it, you will need to open two terminal windows, one for QEMU and one for GDB, both in the xv6-riscv codebase root folder.
In the QEMU terminal, run make CPUS=1 qemu-gdb (CPUS=1 makes it run in a single core, so it is easier to debug).
It will wait for a GDB connection.
In the GDB terminal, run: riscv64-unknown-elf-gdb -tui
You will see a screen like this:
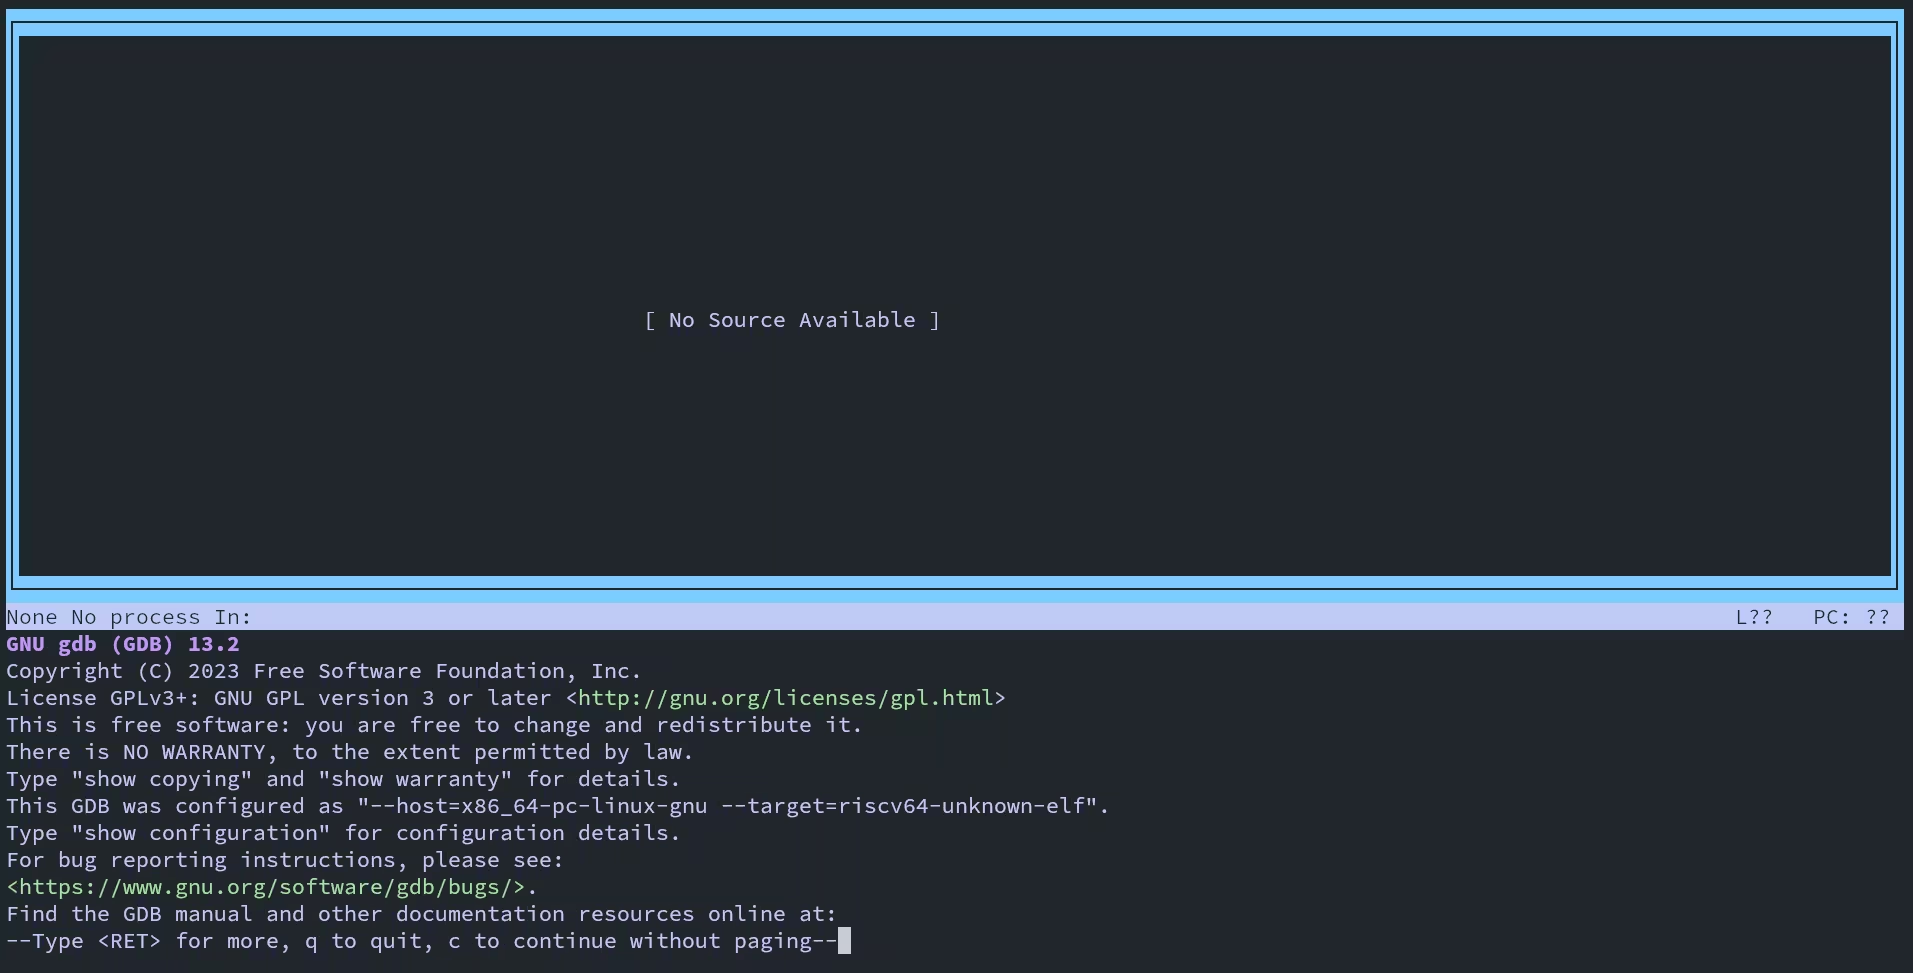
This the TUI (Text User Interface) mode of GDB.
Some GDB commands I found useful
| command | What it does |
|---|---|
| b $param / break $param | Adds a breakpoint on symbol $param |
| c / continue | Will Continue execution until next breakpoint |
| s / step | Step into the next line, entering a function if needed |
| n / next | Continue to the next line, not entering functions |
| watch $expression | Will stop when the value of an expression changes |
| rwatch $expression | Will stop when the value of an expression is read |
The first breakpoint I added was at _entry break _entry, after witch you can press c to continue.
It will stop at your breakpoint.
After that, you can use s or n depending on whether you want to enter a function or continue over it.
The _entry is among the first instructions executed.
However, GDB will not display its source.
Check the kernel/kernel.asm file that gets generated when compiling, to follow these first steps.
_entry should be in the first lines of the file.
This is what it looks like:
kernel/kernel: file format elf64-littleriscv

Disassembly of section .text:

0000000080000000 <_entry>:
  80000000: 00009117          	auipc	sp,0x9
  80000004: a1010113          	add	sp,sp,-1520 # 80008a10 <stack0>
  80000008: 6505                	lui	a0,0x1
  8000000a: f14025f3          	csrr	a1,mhartid
  8000000e: 0585                	add	a1,a1,1
  80000010: 02b50533          	mul	a0,a0,a1
  80000014: 912a                	add	sp,sp,a0
  80000016: 076000ef          	jal	8000008c <start>
When you reach the start function, GDB will start to show you the code around what it being executed.
This step is also reachable directly by a breakpoint b start.
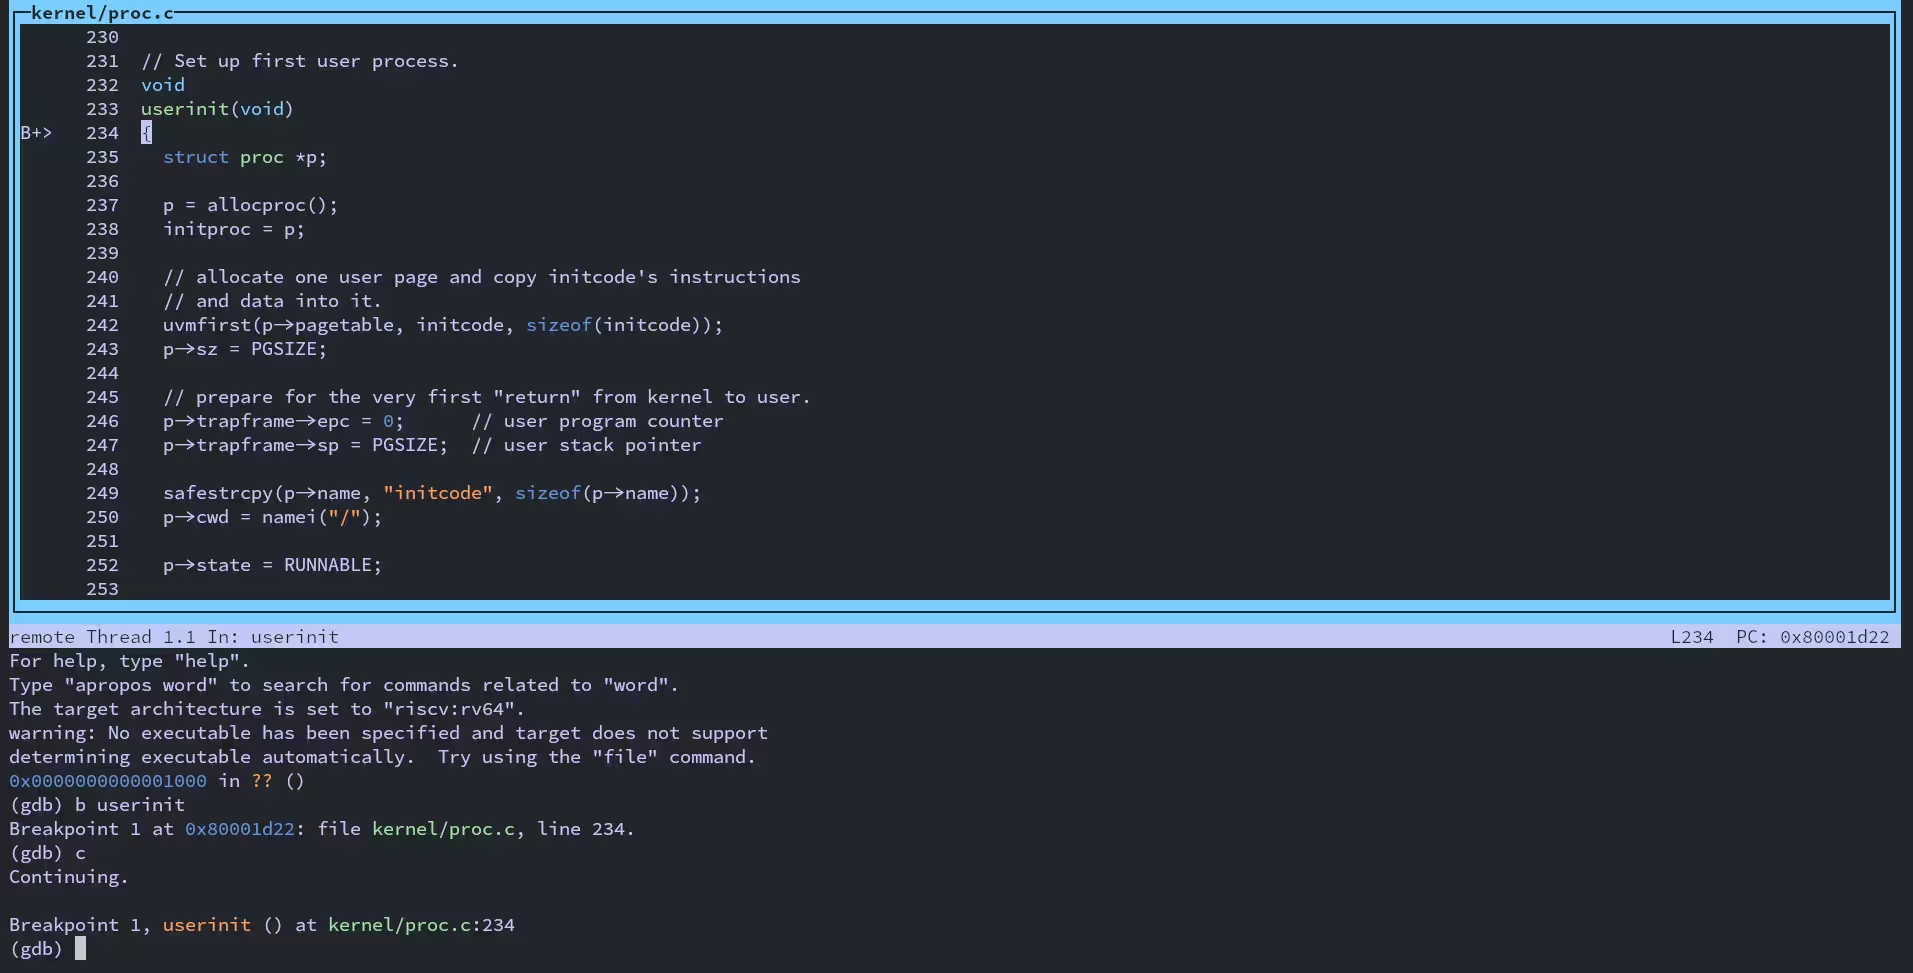
Also do add a breakpoint break main to see the main function of the kernel, and break userinit to see the first kernel-space to user user-space transition: the first user program being run.
The program it runs it a small assembly program user/initcode.S.
What it does is call the exec syscall, to start the second user-space program: user/init.c it creates the console, and starts the shell.
